In this guide, we'll take a comprehensive look at how to create an effective business landing page using PlanClock. We'll cover step-by-step instructions, to ensure your landing page stands out to attract and retain customers.
Step 1 Login To Your PlanClock Dashboard
Before we can start crafting our business landing page in PlanClock, it's essential to sign into our account. If you're not already registered with PlanClock, you can quickly sign up by following the link provided below, which will walk you through the steps to get started and elevate your business using PlanClock capabilities.
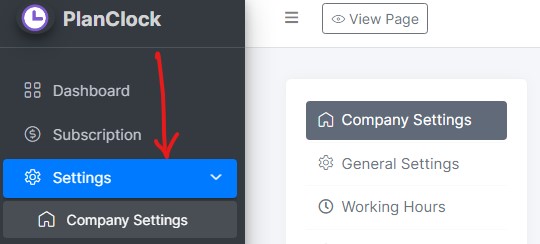
Once you've signed in, access your dashboard and look for the Settings tab on the sidebar. Click on this to reveal a dropdown menu, then choose Company Settings. This action will take you to the settings panel, the control center from which we can design and manage the landing page of your business.
Step 2 Customise Your Business Landing Page
In this step, we'll embark on the important task of tailoring your business landing page within PlanClock to ensure it is both visually appealing and exudes professionalism. We will enhance several key features to make your landing page not only inviting but also reflective of your brand's high standards. Here are the elements we'll focus on customizing
- Company Logo
- Landing Page Banner
- Company Name
- Company Title
- Company Catergory
- About Us
Company Logo
Within the Company Settings page, locate the Upload Logo section to add your company's logo. Click on the Browse button to select and upload the image file of your company's logo from your computer. This will ensure your branding is consistently represented throughout your landing page.
![]()
Landing Page Banner
Proceed to the Banner Image section found within the Company Settings page. Here, use the Browse button to locate and upload a banner image from your device that represents your company's branding. Selecting a high-quality and visually appealing banner will enhance the aesthetic of your landing page and reinforce your brand identity.

Company Name
Go to the Company Name section within the Company Settings page. In the provided input field, type in the official name of your company. This ensures that your business is correctly identified across your landing page and adds to its professional appearance.
Company Title
In the Company Settings page, find the Company Title section and use the provided input field to type in the Title of your company. This will ensure your company's title is prominently displayed and recognized on your landing page.
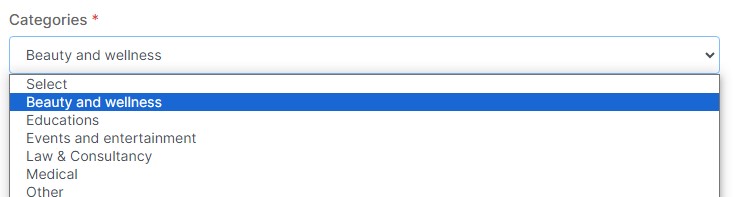
Company Category
In the Company Settings page, locate the Company Categories section. There, you'll find a drop down menu where you would select, Company Category.
About Us
Head to the Details section within the Company Settings page to find the designated input form for your company description. Here, enter a succinct yet informative overview of your company and the services you provide. Crafting a clear and engaging description is crucial as it helps visitors quickly grasp what your business offers and how it can be of service to them.
Finally Save Your Changes
Once you have completed entering your company description in the Details section, scroll down to the bottom of the page to locate the Save Changes button. Click this button to ensure all your updates are successfully saved and applied to your company settings.