
Adding an IMAP email account in Outlook is a simple process that can be completed within a few minutes. IMAP (Internet Message Access Protocol) is a protocol used by email clients to retrieve email messages from a server. In this article, we will provide you with step-by-step instructions on how to add an IMAP email account in Outlook.
Step 1: Open Outlook
Launch Outlook on your device by double-clicking on the application icon.
Step 2: Go to the File menu
In the Outlook window, click on the "File" menu located in the upper-left corner.
Step 3: Click on Add Account
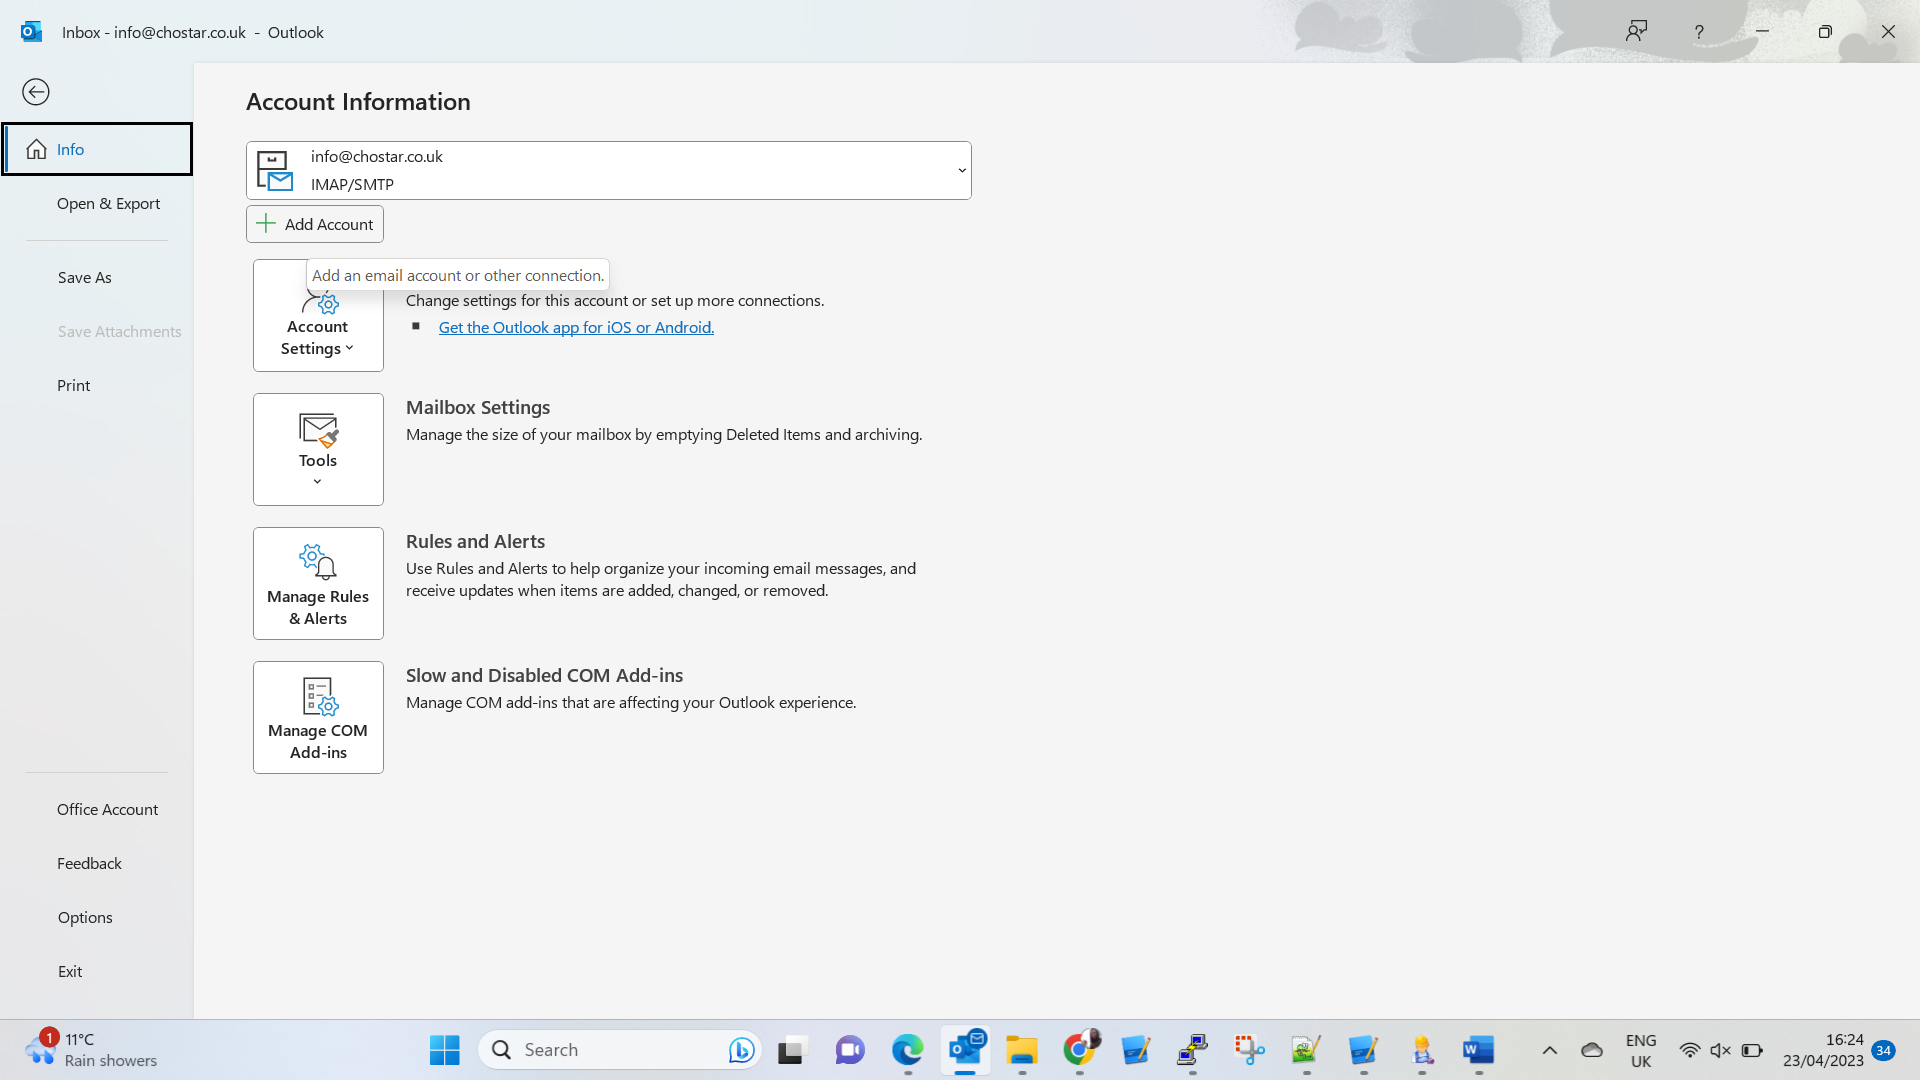
Under the Info tab, click on the "Add Account" button located on the right side of the window.
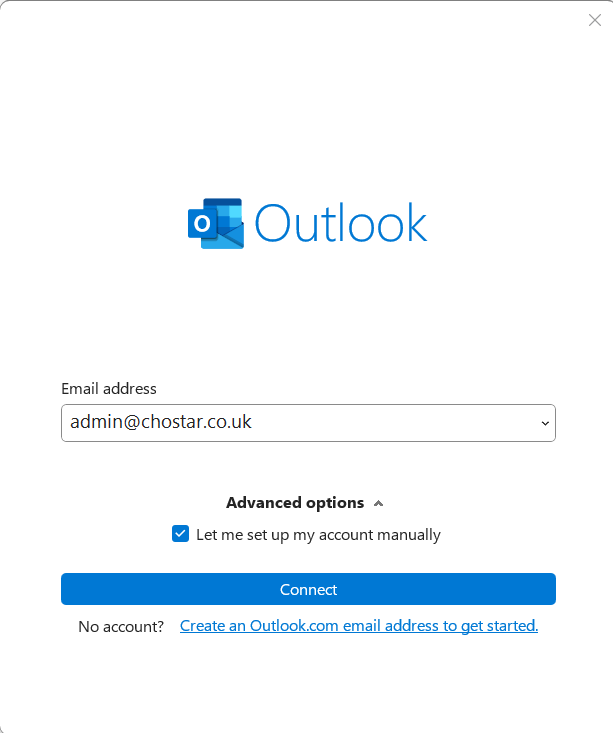
Step 4: Choose the email account type
Choose the "Manual setup or additional server types" option and click on "Next".
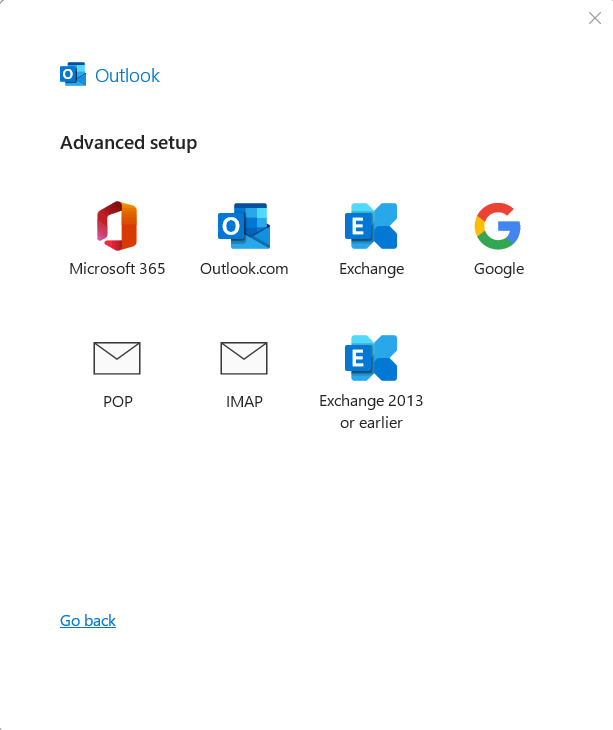
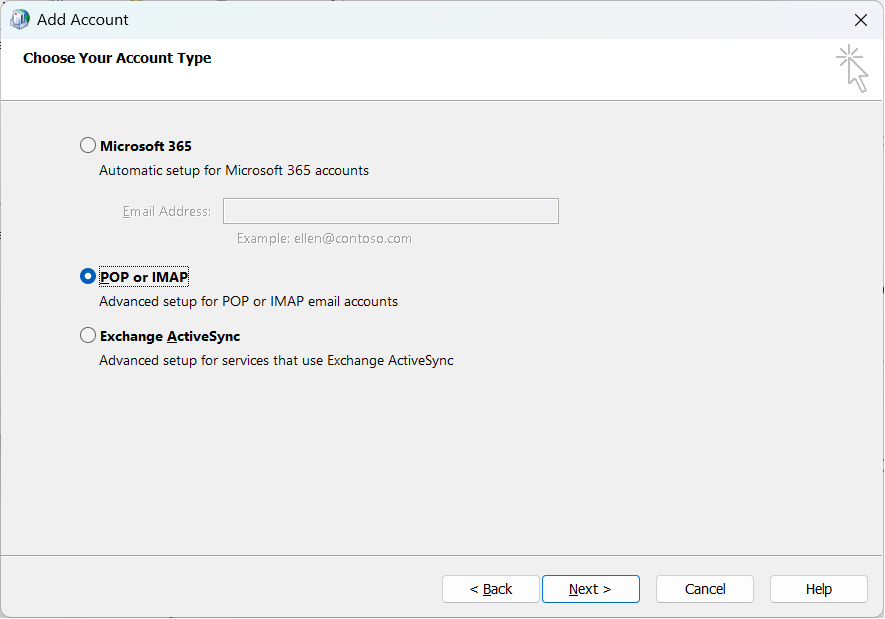
Step 5: Select the email account type
Please Note: POP email type downloads emails from the server and deletes them, while IMAP syncs emails across multiple devices and keeps them on the server.
Select the "POP or IMAP" option and click on "Next".
NB: If using Office 2016 and above skip below and enter your password to setup your email account. For later Office versions, follow the steps below to setup the email account.
Step 6: Enter your email account details
In the "User Information" section, enter your name and email address. In the "Server Information" section, select "IMAP" as the account type. In the "Incoming mail server" field, enter the IMAP server name provided by your email provider. In the "Outgoing mail server (SMTP)" field, enter the SMTP server name provided by your email provider.

Step 7: Enter your login details
In the "Logon Information" section, enter your email account username and password.
Step 8: More Settings
Click on the "More Settings" button located at the bottom right corner.
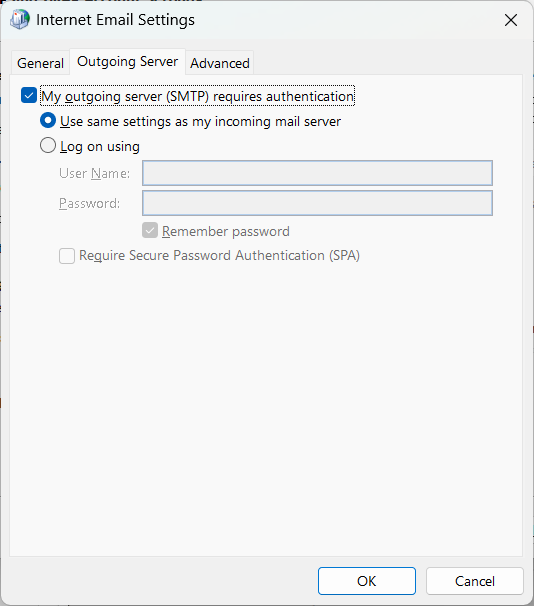
Step 9: Click on the Outgoing Server Tab
Select the "Outgoing Server" tab, check the box that says "My outgoing server (SMTP) requires authentication", and select "Use same settings as my incoming mail server".
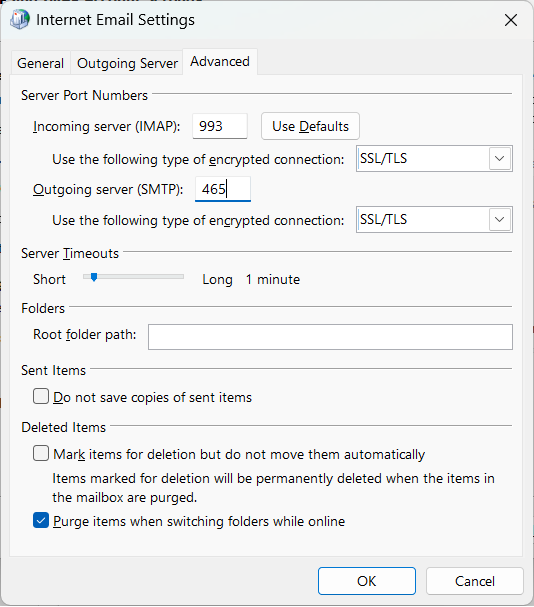
Step 10: Click on the Advanced Tab
Select the "Advanced" tab and enter the port numbers provided by your email provider. Generally, the default port numbers are 993 for IMAP and 465 for SMTP. Also, select "SSL" as the encrypted connection type.
Step 11: Save Settings and Test Account
Click on "OK" to save the settings and test the account by clicking on the "Test Account Settings" button.
Step 12: Close the window
Once you receive the "Congratulations! All tests completed successfully" message, click on "Close" to complete the setup process.
Conclusion
In this article, we have provided you with step-by-step instructions on how to add an IMAP email account in Outlook. With these simple steps, you can easily configure your email account in Outlook and start receiving and sending emails.
