In this article, I'll guide you on harnessing the power of your personal AI assistant to generate stunning visuals, inspired by the iconic art styles of legendary artists such as Leonardo da Vinci. Let's explore how AI can breathe new life into classic artistry and create masterpieces of the digital age.
Let's dive right in and start creating captivating AI-generated images with your personal AI assistant. Initially, you'll need to sign in to your Scribot account. After a successful login, you'll land on
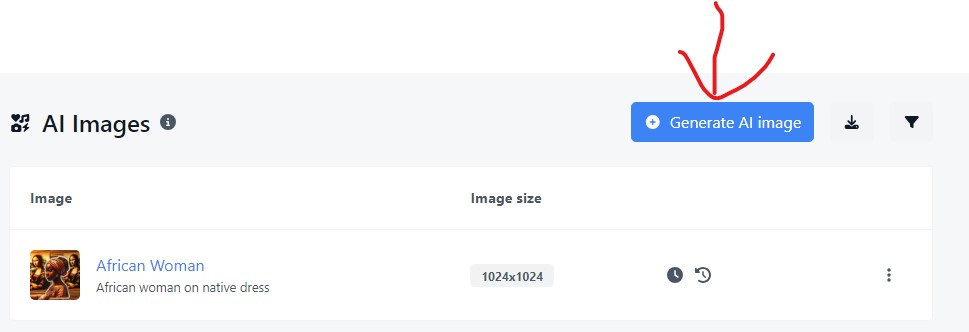
the Scribot dashboard. From here, locate and select the AI Images option found in the left sidebar of the dashboard. This is where your artistic journey begins.

Upon arriving at the new page, you'll find an option labeled Generate AI Image. Go ahead and click on this to kick-start the process of creating your own stunning, AI-generated artwork.
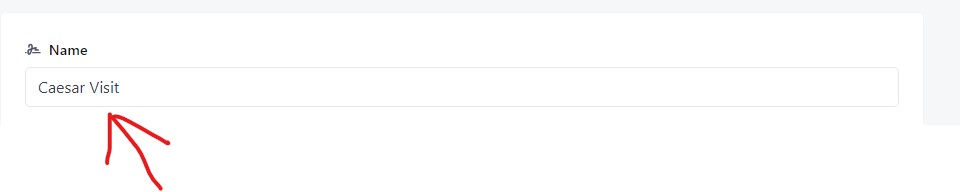
In the Name Field, input a descriptive name for your AI-generated image. This name, which will be used to save your image, should ideally reflect the image's purpose or theme. This will aid in easy identification and recall when you need to reference the image in the future from your dashboard.
In the Image description Field, Provide a detailed description to the AI about the exact image you wish to generate. The more specific and precise your instructions, the closer the AI can align its creation to your vision.

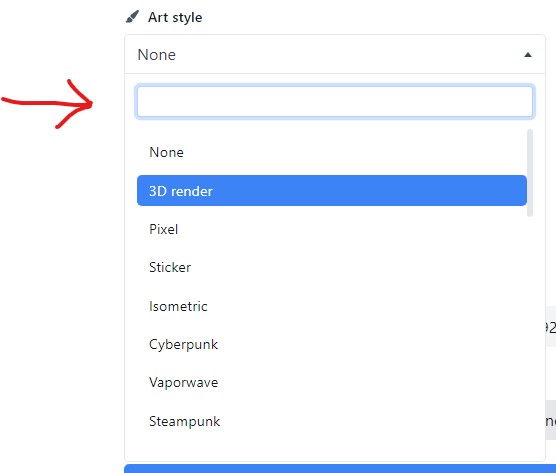
In the Art style Field, Choose the dominant style for your AI-generated image based on certain artistic parameters. These could include elements like 3D, Pixel, or Sticker ensuring your image aligns with your desired aesthetic. For this example am going to choose 3D render. Feel free to play around with the available Art styles.
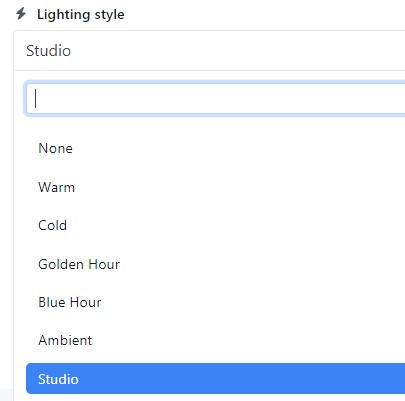
In the Lighting style Field choose the illumination style for your AI-generated image, based on specific lighting parameters. These could include aspects such as the direction, intensity, or color of the light source, which can significantly influence the mood and texture of your image.
In the Lighting style Field choose the illumination style for your AI-generated image, based on specific lighting parameters. These could include aspects such as the direction, intensity, or color of the light source, which can significantly influence the mood and texture of your image.
In the Mood Field, Determine the emotional tone or mood for your AI-generated image. This selection will guide the AI in creating an image that invokes the desired feelings or atmosphere, adding an extra layer of depth to your artwork.

In the Image size Field, Specify the resolution for your AI-generated image. This will determine the overall quality and detail of your image, ensuring it meets your needs whether it's for a high-definition print or an online display.

Once all parameters are set, click on the Create button. This will activate your personal AI assistant to begin crafting a beautiful image, adhering closely to the specifications and artistic direction you've provided.

