As a team member in a collaborative work environment, having access to a streamlined support system is essential for maintaining productivity and addressing issues swiftly. WorkSpace's ticket feature is designed to facilitate this by providing a central portal for lodging and managing support requests. Let's walk through the process from the point of logging in as a team member to effectively using the ticket feature.
Step 1: Log In to Your WorkSpace Account
Begin by signing in to your WorkSpace account using your credentials. Ensure that you have the necessary permissions to access the ticketing system—if not, you may need to request access from your WorkSpace administrator.
Step 2: Locate the Ticket Feature
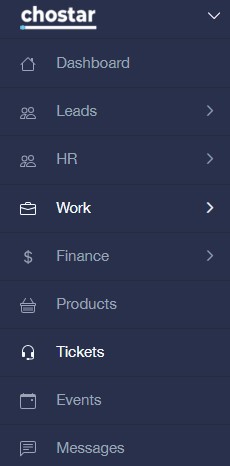
Once logged in, navigate to the main Dashboard. Look for the Tickets icon , located in the sidebar section of the your Dashboard.
Step 3: Familiarize Yourself with the Interface
Take a moment to familiarize yourself with the ticket system interface. Understand where to find options for submitting a new ticket, viewing existing tickets, and tracking the status of your support requests.
Step 4: Submit a New Ticket
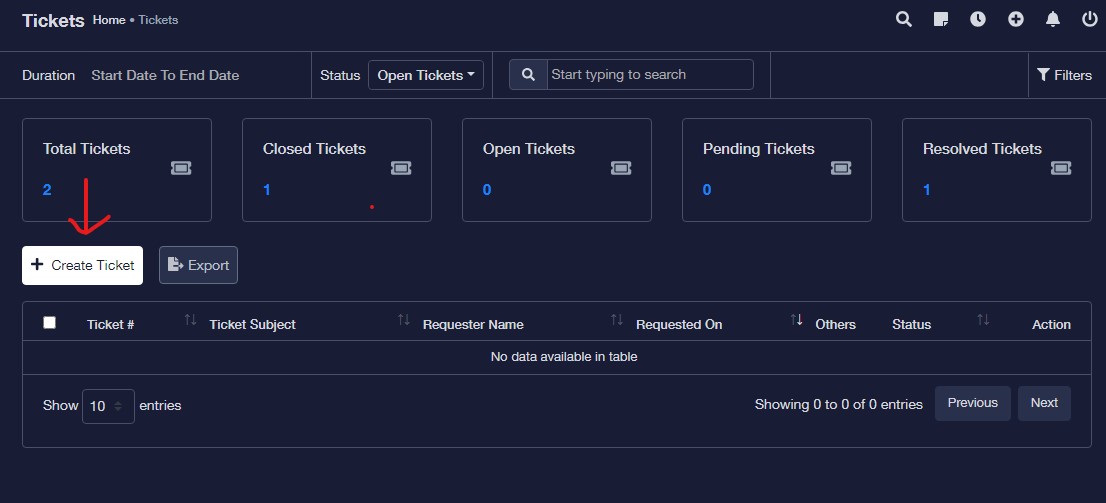
To submit a support request, click on the option to Create Ticket.
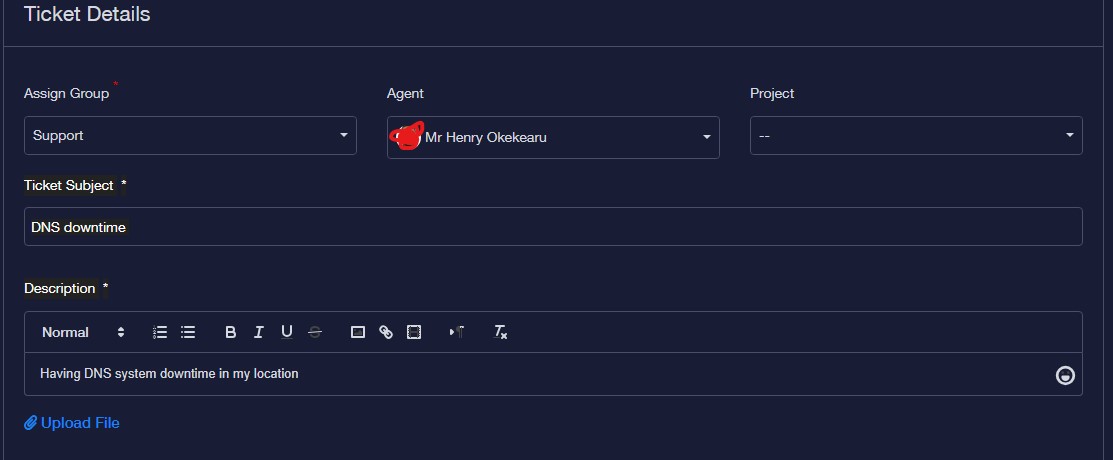
You will be prompted to fill out a form with details about the issue you're facing. Be as descriptive as possible, including any error messages, screenshots, and the steps that led to the problem.
Step 5: Provide All Necessary Information
Fill in all required fields, such as the subject, description, priority level, and category if applicable. The more specific you are, the easier it will be for the support team to diagnose and resolve the issue.
Step 6: Review and Submit Your Ticket

Before submitting, review the information you’ve entered to ensure accuracy. Once you're satisfied, Save the ticket. by clicking on the Save button.
Step 7: Monitor the Status of Your Ticket
Stay informed on the status of your ticket through notifications or by checking the ticket feature regularly. WorkSpace may provide real-time updates, allowing you to see who is handling your request and any actions taken.
Step 8: Resolve and Close the Ticket
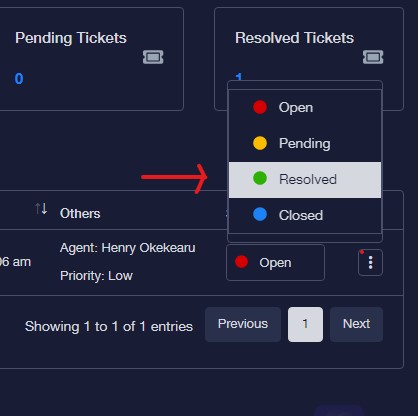
Once the issue is resolved, you may need to confirm that the solution is satisfactory. Follow the prompts to close the ticket.
By following these steps, you, as a team member, can efficiently utilize WorkSpace's ticket feature to manage and resolve internal support needs, allowing for smoother operations and better team synergy
