In this guide, we'll explore the process of adding a custom domain to your business page in PlanClock. A custom domain not only elevates the professionalism of your online presence but also enhances brand identity. I'll provide you with straightforward instructions to seamlessly integrate your unique domain with your PlanClock business page.
Step 1: Acquire a Domain Name
Start by selecting and registering a domain name that reflects your business brand and is easy for your customers to remember. Choose a reputable domain registrar to purchase your domain from, ensuring it aligns with your company's name and the services you offer.
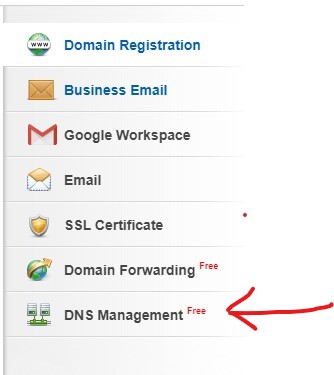
Step 2: Retrieve Your DNS Records
After purchasing your domain, access your domain registrar's control panel to obtain the necessary DNS records. These records will be critical for configuring and pointing your domain to your PlanClock business page. Look for the section labeled DNS Management or DNS Settings to find the details you'll need for the next steps.
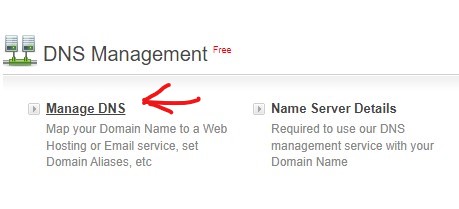
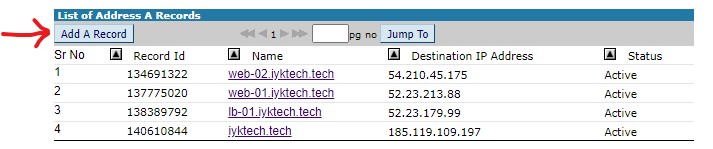
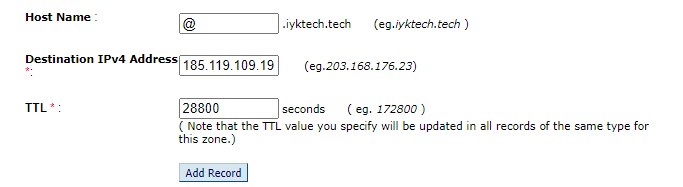
Step 3: Configure Your DNS Settings
Log in to your domain registrar's dashboard, and navigate to the DNS Settings section. Here, you will update the DNS records to point your domain to the PlanClock servers. Typically, this involves editing the A record or CNAME record as per PlanClock specifications, Navigate to your PlanClock Dashboard Custom Domain, Click DNS Settings a Modal will appear with relanvant infos on how to configure DNS A record to point your business page in PlanClock. Make sure to save these changes.
Step 4: Allow Time for Propagation
After updating your DNS Settings, be prepared to wait for the changes to take effect across the internet. DNS propagation is a process that can take up to 48 hours. During this period, access to your website or application may be intermittent or temporarily unavailable as the new settings are updated globally. It's important to plan for this downtime accordingly and inform your users if necessary.
